Eco-Friendly Soap-Dispensing Brush for Travel & Home
3-in-1 Portable Cleaning Brush with Built-In Liquid Dispenser
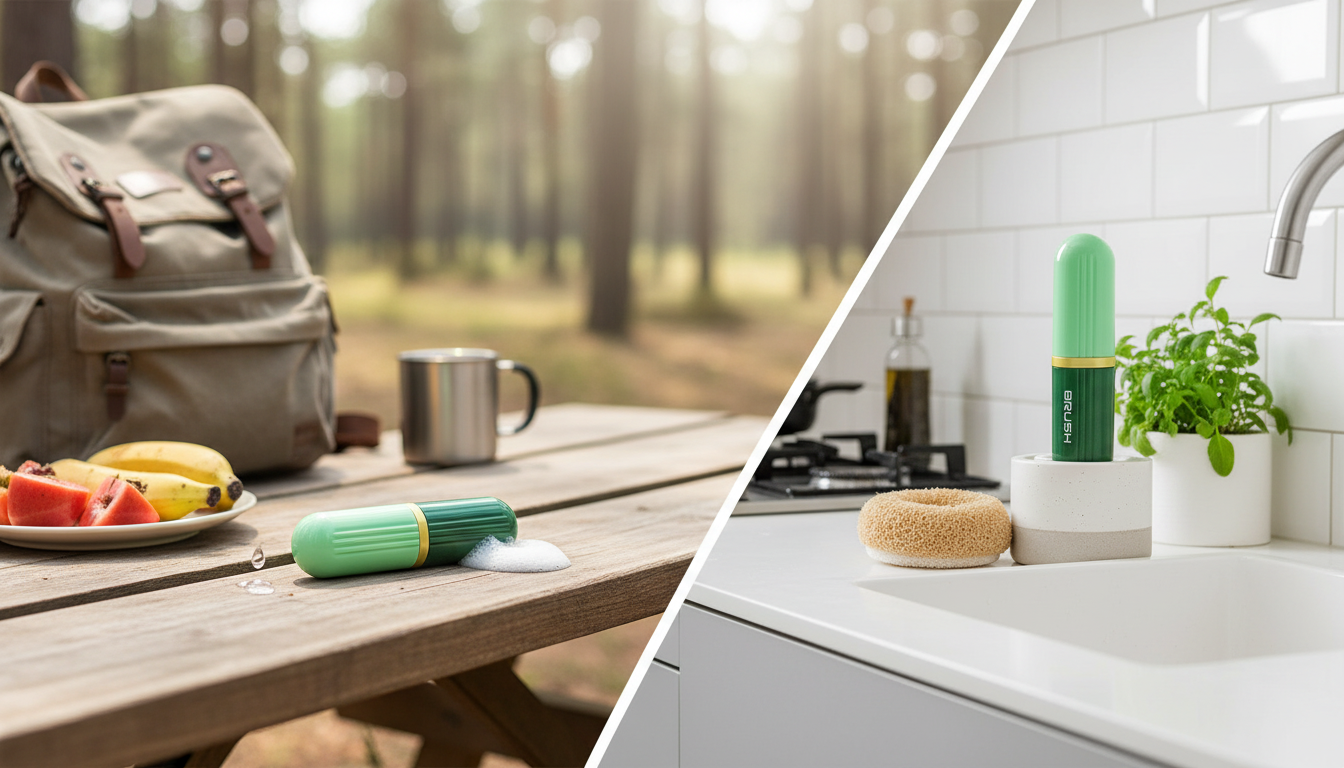
A compact cleaning brush that carries its own soap makes quick cleanups simpler at home, work, camping, and travel. Instead of juggling a separate bottle and sponge, a 3-in-1 setup combines a refillable liquid reservoir, scrubbing bristles, and a targeted outlet so dishes, sinks, tiles, and small messes can be handled fast—especially when you only need a little detergent and a lot of control. For more guidance, see Cleaning Supplies and Equipment | HAIs – CDC.
What Makes a Liquid-Dispensing Brush Useful
For everyday messes, the biggest advantage is convenience without extra clutter. A liquid-dispensing brush keeps detergent and scrub power in one handheld tool, which is helpful when you’re cleaning in tight spaces or doing frequent small tasks. For further reading, see [PDF] 6 Natural, Safe Mold Treatment Solutions to use Instead of Bleach.
- Reduces countertop and caddy clutter by combining soap storage and a scrub tool in one unit.
- Helps control how much detergent you use, which can cut waste and reduce leftover residue.
- Keeps hands farther from grease and grime compared with a loose sponge.
- Great for quick, repeat jobs like lunch containers, mugs, stovetops, sink rings, and bathroom touch-ups.
- Portable format suits dorms, RVs, office kitchens, and travel cleaning kits.
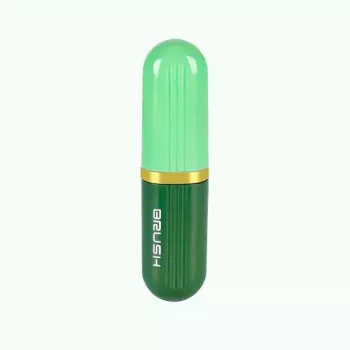
Design Overview: How the 3-in-1 Setup Works
Most 3-in-1 portable cleaning brushes follow the same practical design: fill, dispense, scrub, rinse, and store. The goal is to make soap application feel “on-demand,” so you’re not overpouring detergent onto a surface.
- Refillable reservoir: Add dish soap or a diluted all-purpose cleaner (check label guidance and surface compatibility).
- Dispensing control: Press or squeeze to release liquid through the head for targeted coverage.
- Scrubbing head: Bristles provide mechanical action for stuck-on food, soap scum, and everyday grime.
- Compact body: Easy to store upright by the sink or in a small caddy—handy for small-space living.
- Quick-rinse maintenance: Rinsing after use helps prevent buildup and odors.
Where It Fits Best: Practical Use Cases
This kind of tool shines when you want a fast scrub-and-rinse without setting up a full cleaning session. It’s also useful when you’re moving between areas—kitchen to bathroom, or campsite to cooler—without carrying multiple supplies.
- Kitchen: Dishes, pans, cutting boards, stovetops, backsplashes, sink basins, and around drain areas (avoid harsh abrasives on delicate finishes).
- Bathroom: Shower tiles, tub edges, faucet bases, and soap dishes (use surface-safe cleaners and rinse well).
- On the go: Camping cookware, travel mugs, picnic containers, and cooler accessories.
- Spot cleaning: Sneakers’ outsoles, pet bowls, and high-touch surfaces that benefit from a quick scrub.
- Small-space living: Ideal when storage is limited and multipurpose tools matter.
How to Use It for Efficient, Low-Waste Cleaning
A little planning goes a long way with a liquid-dispensing brush. The idea is to use the smallest amount of soap that still gets the job done—then rely on the bristles and water temperature (when safe) to finish the work.
Soap Mix Guide (General Starting Points)
| Task | Suggested Mix | Notes |
|---|---|---|
| Everyday dishes | 1 part dish soap : 3 parts water | Adjust based on grease level; rinse well to avoid film. |
| Greasy cookware | Undiluted or 1:1 soap to water | Use hot water when safe for the item; avoid overheating plastic. |
| Bathroom tiles | Surface-safe cleaner diluted per label | Avoid acids on natural stone; test in a small area first. |
| Travel/camping items | Mild soap diluted with water | Prefer biodegradable soap where required; follow local guidance. |
Care, Hygiene, and Longevity Tips
For a practical refresher on cleaning basics and safer routines in shared spaces, the CDC’s guidance on cleaning and disinfecting is a helpful reference. If you’re trying to choose gentler product options, the EPA’s Safer Choice Standard outlines criteria used to evaluate ingredient safety.
How to Choose the Right Portable Cleaning Brush
- Dispenser capacity: Larger reservoirs mean fewer refills; smaller ones travel lighter.
- Dispensing control: Look for a mechanism that allows small, consistent doses rather than sudden floods of soap.
- Bristle firmness: Softer bristles are better for nonstick and delicate surfaces; firmer bristles help with grout and stuck-on residue.
- Grip and ergonomics: A secure handle matters when wet or soapy.
- Leak resistance: If it will ride in a bag, prioritize tight seals and a cap/lock.
- Material considerations: Durable, refillable tools can help reduce disposable sponge turnover and single-use plastic over time (UNEP’s overview of plastic pollution explains why reducing throwaway items can matter at scale).
Product Spotlight: 3-in-1 Eco-Friendly Portable Cleaning Brush with Liquid Dispenser
If you also want a simple way to stay consistent with household routines, consider adding a printable planning tool to your home organization setup: Goal-Setting Guide for Real Results – Printable Goal Planner, SMART Goals Workbook & Productivity Template for Achievable Success.
FAQ
Can the dispenser be filled with any cleaner?
Stick with mild dish soap or label-approved diluted cleaners, and avoid bleach or strong acids unless the container materials and the surface you’re cleaning are compatible. When in doubt, follow the cleaner’s label directions and test on a small, inconspicuous spot first.
How often should the brush be cleaned to prevent odors?
Rinse the bristles and head after every use, then let it dry fully between sessions. About once a week, flush the reservoir and outlet with warm water to reduce buildup, and replace the brush once bristles degrade.
Will the bristles scratch nonstick pans or delicate surfaces?
It depends on bristle firmness and the pressure used. For nonstick or polished finishes, use gentler pressure, test in an inconspicuous area, and switch to softer tools if you notice any marking.


Leave a comment